1 tablespoon yeast
1 1/2 cups warm water
3-4 cups flour
1 1/2 teaspoon sea salt
1 cup sugar (aprox.)
1/2 cup butter (plus additional for coating pans)
and so we begin with the ever enticing kouing aman. i've never been able to say it right. thank goodness i only have to spell it. this wonderfully crunchy, salty, sweet pastry is the perfect treat for breakfast. admittedly i'd never had kouing aman, i'd never even heard of it until i saw it on tv. it looked so good i had to try it. so i made it at home with very little success, then i went to a somewhat local bakery and had it there... i was in heaven! so with my new found knowledge on how kouing aman is suppose to look and taste, here we go again...
let's begin with the dough.
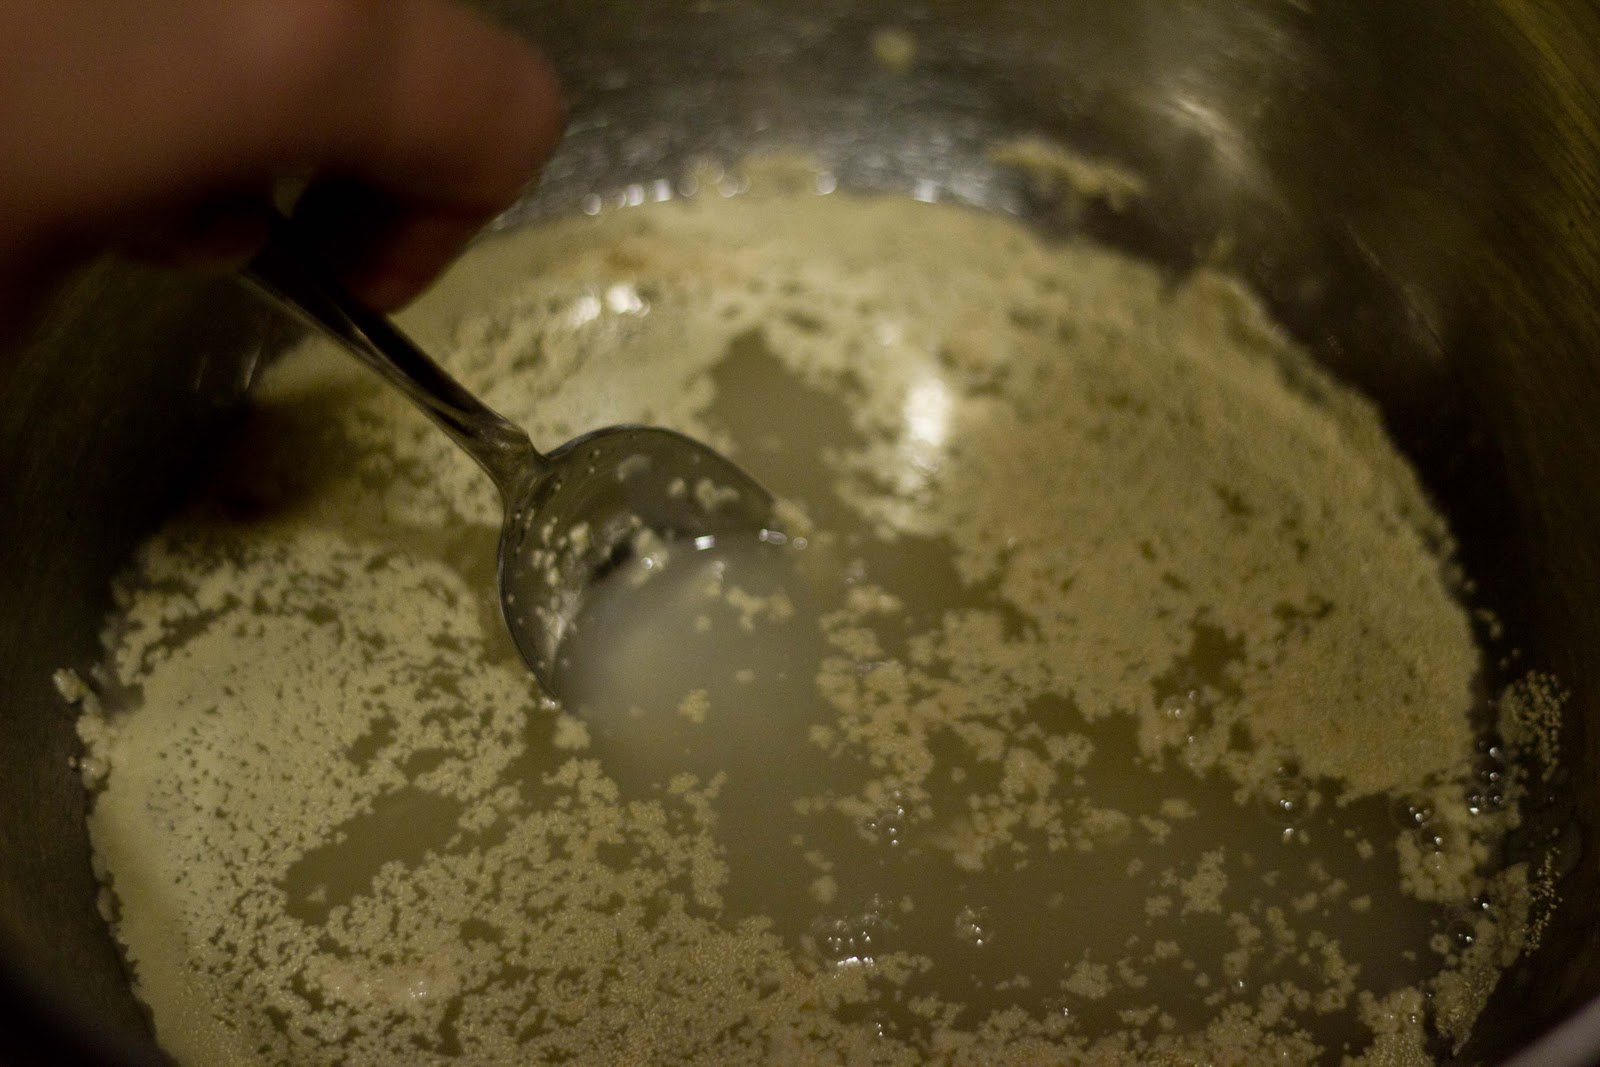
add yeast to water (add a little sugar to ensure foaming.)
lightly stir, but don't soak.
while yeast is developing, i get my butter ready. first i put it between some plastic wrap, then get a rolling pin and smash away. this is a little easier if you let the butter sit at room temperature for about 30 min. but you can do it right out of the fridge.
roll it flat... about an 1/8 inch... or so, i'm not sure i didn't measure.
it should look about like this. mine's not perfect, but it doesn't need to be. once it's flat, put it in the fridge. we'll get back to it later i promise.
look! the yeast is all bubbly now.
and so we add the flour. i never add the entire amount on the recipe. usually a 1/2 cup short, and add more as needed. any type of bread dough is temperamental if you add too much flour. and remember, you can always add more, but you can't take away.
stir it all together
until you get a loose ball. you want the dough to be sticky.
then pour the dough onto a floured surface.
knead for about... oh i don't know, until it's done. to be honest the best way for me to describe the texture of kneaded dough is.... wait for it.... breast tissue. i know i said it. but it's true. so moving on.
i told you the dough was sticky.
once you're done kneading
put some melted butter in the original bowl. no you don't need a clean one. why make more of a mess than you already are.
put the dough in and flip it upside down. be sure to coat all of the dough.
i cover mine with plastic wrap, but you can use a clean kitchen towel. it's personal preference.
oops... i forgot to add the sea salt. i hope adding it late is ok. i just sprinkled it on top. i'll knead it in later. let dough rise for 60 min (or until doubled in size.)

clean up your counter while your dough is rising. you don't want those crusty bits left on the counter in your dough later.
the dough has doubled
place on floured surface
nice and sticky
knead the salt in... normally you won't have to do this, because you would have added the salt in with the flour. but i forgot so i'm kneading it in now and...
letting the dough rise one more time for 30 min.
looks like it turned out pretty good.
roll out into a rectangle. about 15 x 11 in.
get the flattened cold butter out of the fridge and place in the middle of the dough.
sprinkle sugar over the butter.
fold dough over butter and sugar.
like an envelope.
sprinkle more sugar over the top.
fold in thirds again.
wrap in plastic wrap and place in fridge for about 60 min.
once it's nice and cold place on sugar coated counter top. dust the top with sugar, so the rolling pin doesn't stick to the dough. roll out into a rectangular shape.
sprinkle with sugar.
i like to add a little more sea salt. not too much though. you want sweet and salty, not salt and yuck.
cut into 9 pieces. i like to use a pizza cutter.
squish each square and place in buttered muffin pan sections. be sure to butter the sections throughout the inside and on top. the sugar gets pretty sticky in the oven. preheat oven to 425 F.
then it's time to cook. make sure to put a pan or foil under the muffin pan. and wait...
ta dah! 35 min later, golden brown and delicious. time may vary. just make sure they're golden before you take them out of the oven.
wait a few minutes, then take out of the pan and place on a cooling rack. careful when you take them out, they're HOT. and if that sugar touches your fingers... well lets just say i've had many a blister to remind me to not do that again. so i use a fork to take them out.
looking good...
yum yum that was good... ok ok, that was my second one :)